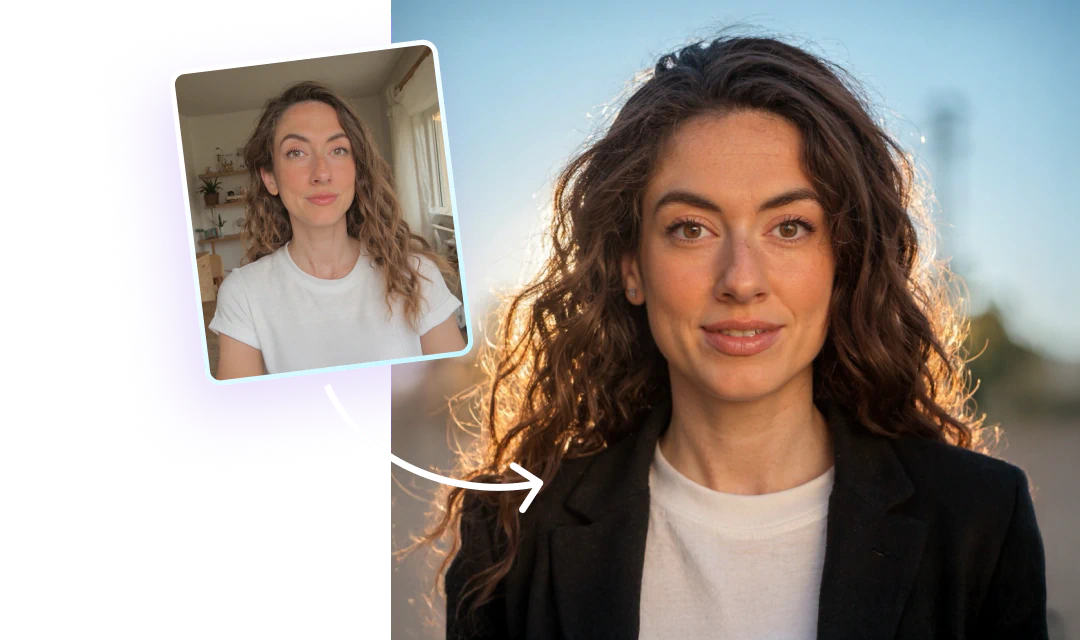
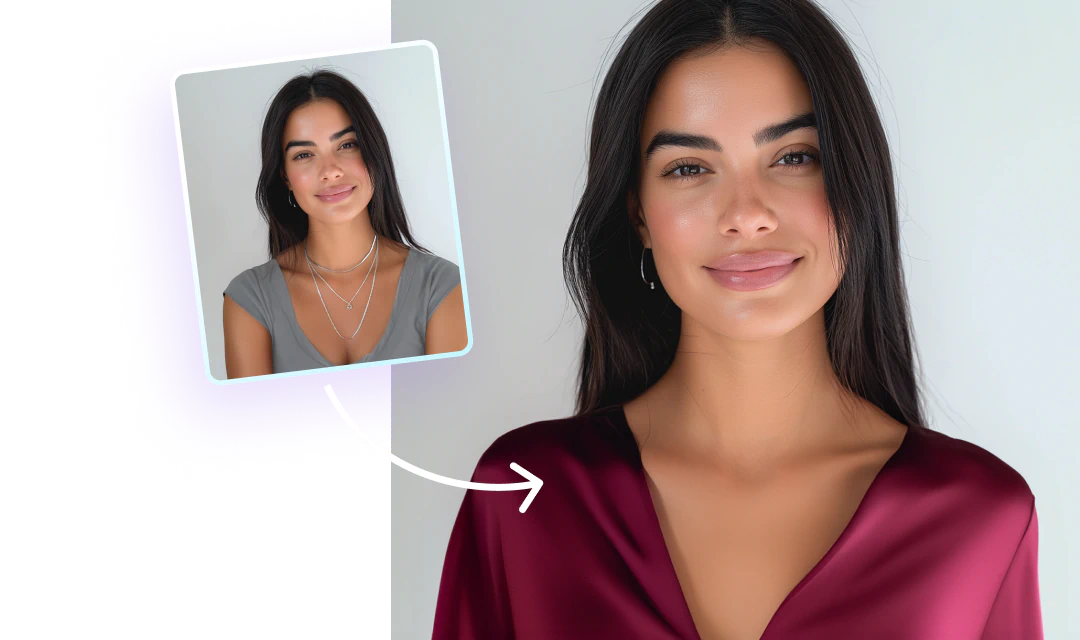
Picture this: It's the morning after an epic night out and you're lying in bed with your bestie going through all the photos you took of your amazing adventures. Then, you come across that video you forgot you took. You get excited about reliving the moment... only to find the video so dark and badly lit that you can't see a thing. Literally so annoying.
That's the problem with videos — there's no flash. So, if you are taking a video at night, chances are it'll be a weird, blurry mess of shapes you can't quite see.
However, just as you can turn up the brightness on photos, now you can turn up the brightness on videos, too! It's super easy to change the brightness of a video. All you need is Facetune Video and this step-by-step guide.
{{cta-banner-images}}
How to brighten videos with Facetune
Step 1 – Open Facetune Video and select the video you want to edit.
Step 2 – Scroll along the bottom bar until you can select the Edit menu.
Step 3 – In Edit, select the Brightness tool.
Step 4 – Use the slider to increase and decrease the overall brightness of the video. It's a good idea to let the video play while you do this, as different parts of the video will react differently.
Step 5 – Increasing the brightness can sometimes affect the colors of the video. Select the Contrast option and use the sliding bar to edit the colors.
Step 6 – You can also use the Vibrance tool to make the colors in the video stronger and brighter. However, sometimes increasing the brightness can wash out the colors, making them look faded.
Step 7 – Use the Compare tool found in the bottom right corner of the screen to compare the original video to your edited version. This will help you see how much editing you've done and make sure the video still looks natural.
Step 8 – Click the check mark in the top right corner to save your edits and return to the main menu screen.
Step 9 – Once you've completed your other edits, use the Save option in the top right corner to save your edits to your phone. You can also download and share your video on social media.

Brightening a video on your phone is easy with Facetune Video because any edits you make will be applied automatically across the whole video. It's much easier than editing it in Photoshop frame by frame!
You can pause the video while you work if you like, but it's a good idea to watch it all the way through to make sure the edits don't look weird as the video plays. For example, if the video has lots of changing light, you might find some parts look good while other moments look overly bright.
Never deal with a dark, dingy video again! Now, all the embarrassing videos of the night before can make their way into the light and onto social media — except for that video of you dancing on the table to Beyonce. That one should be left in the dark.


